ChatGPT 글쓰기 프롬프트 템플릿 정리: 누구나 쉽게 글을 쓰는 프레임워크
ChatGPT를 활용하면 블로그 글쓰기가 훨씬 수월해집니다. 하지만 막상 "글 써줘"라고 입력하면 결과가 만족스럽지 않을 때도 많죠. 핵심은 어떻게 프롬프트를 작성하느냐에 달려 있습니다.
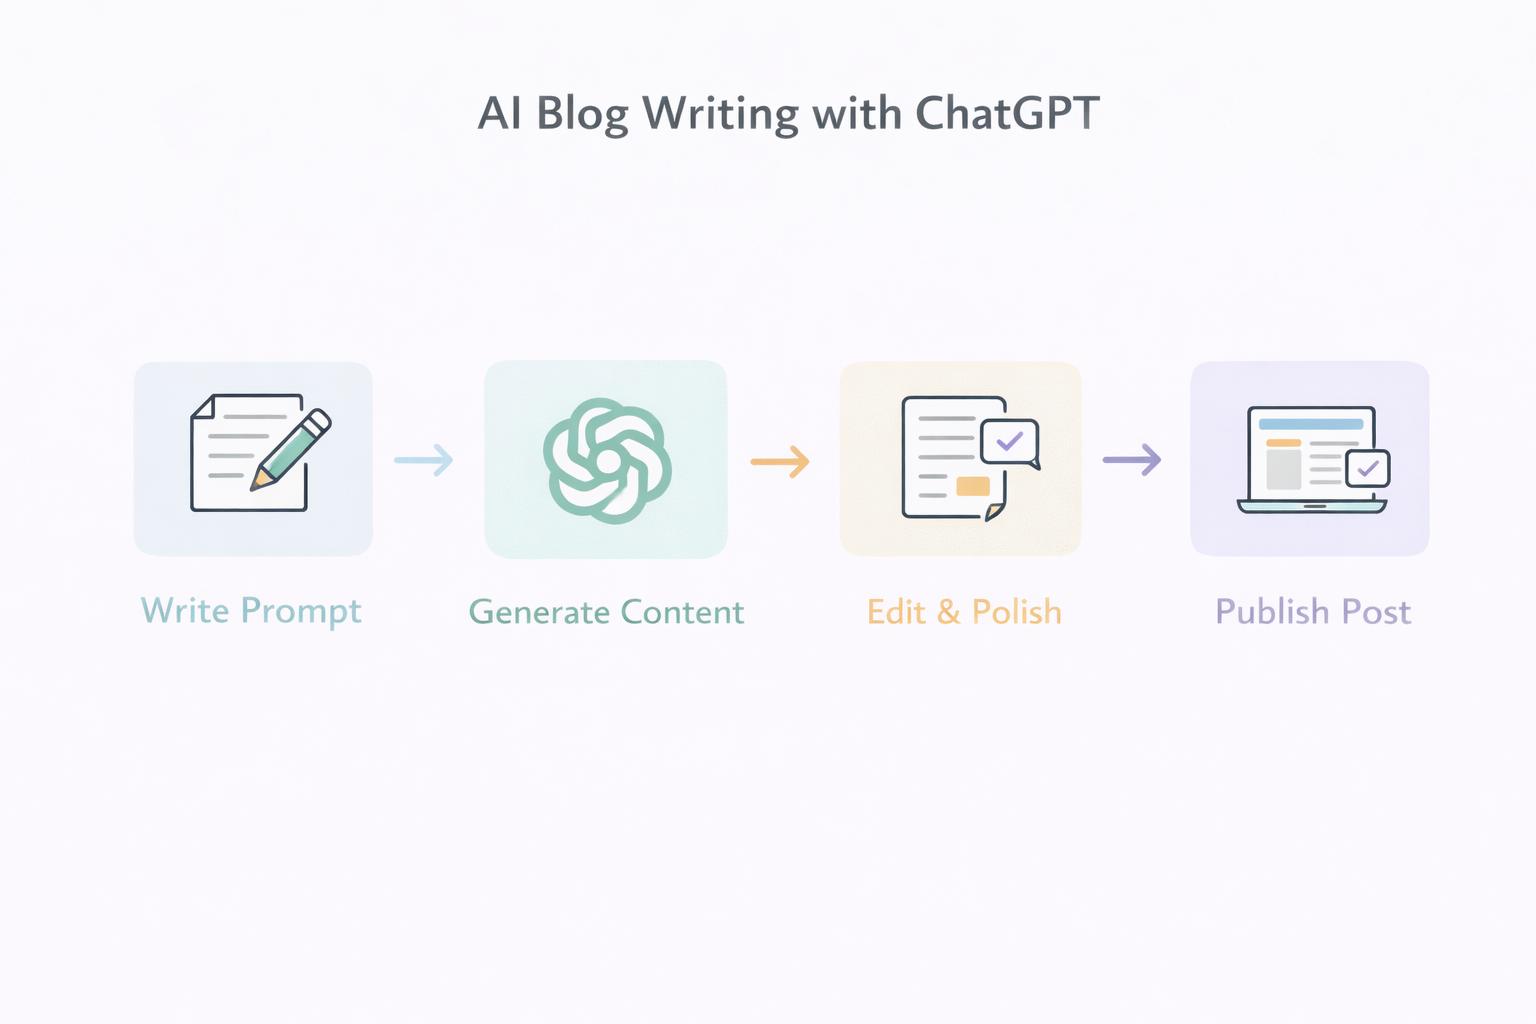
이번 글에서는 블로그 글을 빠르고 정확하게 생성할 수 있는 ChatGPT 글쓰기 프롬프트 템플릿을 유형별로 정리했습니다. 아래 템플릿만 복사해서 사용해도, 하루 3편 자동 작성 루틴을 훨씬 수월하게 실현할 수 있습니다.
1. 블로그 포스트 기본 구조 템플릿
블로그 글에는 보통 도입 - 본문 - 결론의 구조가 필요합니다. 다음 템플릿을 활용하면 글 전체의 흐름을 자동으로 구성할 수 있습니다.
Write a 1500-word blog post about [주제].
Structure it with an introduction, body, and conclusion.
Use h2 and h3 HTML headings.
Include examples and actionable tips.
Optimize for SEO with the keyword: [키워드].
The tone should be friendly and informative.
예시:
Write a 1500-word blog post about “how to automate blog writing using AI”.
Use h2 and h3 tags, include tips and examples.
Optimize for SEO with the keyword: “AI blog automation”.
2. 글머리말(도입부) 생성 프롬프트
독자의 관심을 끄는 도입부는 매우 중요합니다. 아래 프롬프트를 활용하면 자연스럽고 매력적인 시작 문단을 만들 수 있습니다.
Write a compelling introduction for a blog post about [주제].
Hook the reader in the first 2 sentences, and explain why this topic matters.
예시:
Write a compelling introduction for a blog post about “using ChatGPT to write blog posts faster”.3. SEO 키워드 중심의 본문 작성 템플릿
SEO 최적화를 위해 특정 키워드를 자연스럽게 녹여야 할 때는 다음과 같은 프롬프트가 효과적입니다.
Write the body of a blog post about [주제].
Include the keyword “[키워드]” at least 3 times, naturally within the content.
Use bullet points or subheadings where appropriate.
4. 마무리(결론) 생성 프롬프트
독자에게 여운을 남기고 다음 행동으로 유도하는 결론 문단도 중요합니다. 다음 프롬프트로 간단하게 생성할 수 있습니다.
Write a conclusion for a blog post about [주제].
Summarize the key points and encourage the reader to take action.
5. 전체 자동화용 통합 프롬프트
한 번에 전체 글을 생성하고 싶다면, 아래 통합 템플릿을 활용하세요.
Write a 1500-word SEO blog post about “[주제]”.
Structure it with h2 and h3 headings.
Include examples, bullet points, and an engaging intro and conclusion.
Use the keyword “[키워드]” at least 3 times.
마무리: 프롬프트만 잘 써도 글이 완성된다
ChatGPT는 무한한 가능성을 가진 도구지만, 명확한 지시 없이 결과를 기대하는 것은 무의미합니다. 위의 템플릿들을 상황에 맞게 활용하면, 누구나 전문가 수준의 블로그 글을 빠르게 완성할 수 있습니다.
다음 글에서는 실제 프롬프트를 적용해 작성된 블로그 글 예시를 공개합니다. 프롬프트 → 결과물의 흐름을 직접 확인해보세요!
'AI' 카테고리의 다른 글
| 무료 AI 이미지 생성기 비교: 초보자도 쉽게 사용하는 3가지 툴 (0) | 2026.01.09 |
|---|---|
| AI 블로그 자동화에 적합한 주제 선정법: 승인과 트래픽을 동시에 잡는 전략 (0) | 2026.01.09 |
| ChatGPT 블로그 포스트 자동화: 하루 3편씩 쓰는 실전 루틴 공개 (0) | 2026.01.08 |
| ChatGPT 프롬프트 → 블로그 글 결과물 예시: 자동 글쓰기의 실제 흐름 (0) | 2026.01.07 |
| AI로 전자책 만들기: ChatGPT로 1인 출판하는 방법 (0) | 2026.01.06 |

